overnight waffles.
Posted in baking, recipes, waffles | 3 comments
Let go of those Eggo’s. No, really. Throw out the box, and let them go. Once you’ve sunk your teeth into the snappy outer crispness and tasted the tender, creamy inside of a steaming hot homemade waffle, you’ll scoff at those frigid boxed impostors stacked cryogenically in the frozen foods aisle.
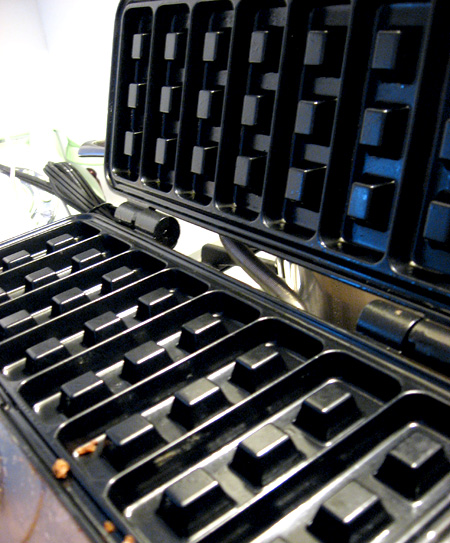
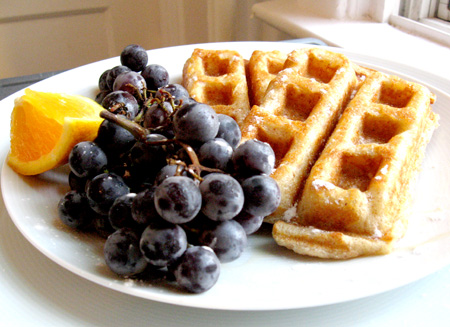
Since my hubby and I met over four years ago, I’ve been eying a kitchen gadget that he purchased years before we met: a sleek, stainless steel Cuisinart waffle iron. Until now, it’s rested in our pots and pan pantry, unassumingly stashed behind a bowl of accessories for now-deceased hand-mixers. Well, this morning that hot little appliance saw the light of daybreak and — I am told, for the first time ever — was employed as the essential element in the conception of the loveliest, crisp, golden and ethereally light waffles.
Don’t be intimidated. Waffles are, at heart, little more than flour, milk, eggs, butter, and a few other ingredients. And although the recipe I’m going to share with you technically takes 8 hours or more to complete, you will spend 90 percent of that time sleeping. Yes, that’s right, sleeping, but we’ll get to that later. These raised yeast waffles are the best there are, and they’re no more work than other kinds. The most important thing about making a good — no, excellent — waffle has less to do with what goes in or on them, and more to do with how you make them and how quickly you serve them.
Overnight Waffles
Ingredients
½ tsp instant yeast
1 cup all-purpose flour
1 cup whole wheat flour
½ tsp salt
2 cups milk
½ cup butter, melted and cooled
½ tsp vanilla extract
2 eggs, separated
canola or other neutral oil for brushing or spraying on waffle iron
Tips Must-Follow Advice
Do Not Underbake Waffles
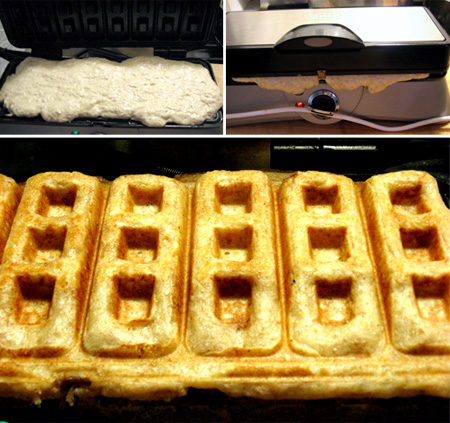
There’s nothing worse than a floppy waffle, so after pouring and/or spreading the batter onto the iron, shut it and walk away for at least 2 minutes; take this time to melt some butter to pour over the finished waffle since melted butter is far superior to smashing a pad of cold butter on your sure to be exquisite creation. I’ve found that the indicator light goes on (signaling doneness) when the waffles are still a bit underdone, so for a crisper waffle wait an extra minute or so after the light has gone on. Total baking time should be 3 to 5 minutes.
Serve Waffles Hot Off the Iron
Waffles are delicate creatures who do not fare well long beyond four or five minutes after they’ve come off the iron. This means waffles are not to be made ahead, left sitting, cooled or frozen and reheated before serving. That, my friend, is blasphemy. You can keep a piping hot waffle warm on a rack in a 200 degree F oven for up to five minutes, but for best results, you must eat waffles immediately. Not only will they taste better and have that delectable crispy-creamy dichotomy, but serving waffles hot off the iron is also quite impressive and sure to wow your breakfast or brunch guests (even if, as in my case this morning, most of them were part of the under-three set).
Batter Directions (Before Bed)
- Before going to bed, in large bowl combine instant yeast, flours and salt.
- Stir in the milk, then the butter and vanilla.
- Cover with plastic wrap and set aside overnight at room temperature.
Batter Directions (In the Morning)
- Separate the eggs and stir egg yolks into the batter.
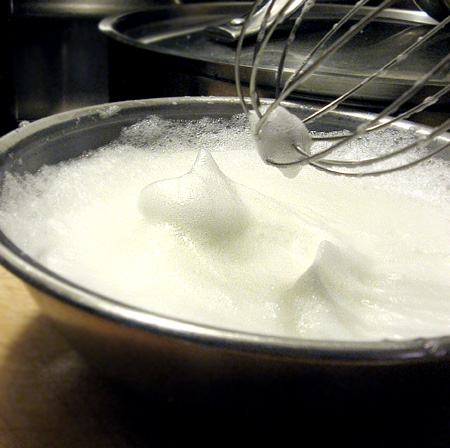
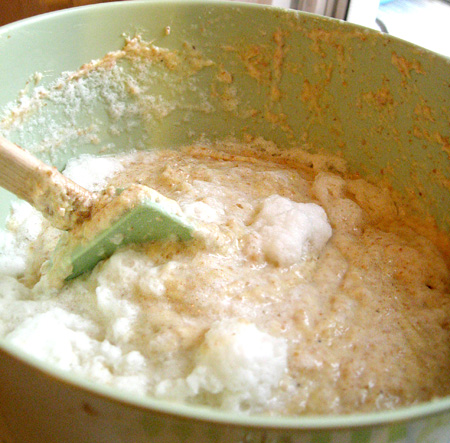
- Beat egg whites until they hold soft peaks; gently fold into the batter.
Baking Directions
- Brush the waffle iron lightly with oil and close to preheat it. Make sure that your waffle iron is hot. Most irons have an indicator light; preheat until the indicator light goes off (mine also has a convenient little beep).
- Once it’s preheated, open the iron for a minute to let any oily smoke escape, close it until it becomes hot again, and then start cooking.
- Spread a ladelful of batter onto the waffle iron, close it, and bake until the waffle is done, usually 3 -5 minutes*, depending on the iron and amount of batter you’ve applied.
- Serve immediately or keep warm for two or three minutes in a low oven.
Substitutions & Additions
You can trick-out your waffles by experimenting with different fillings, flavorings and toppings. You are limited only by your imagination, but here are a couple of ideas to get you started:
- Substitute whole wheat flour with rye or other flour.
- Lay two or three strips of raw bacon over the batter after spreading on the waffle iron and before closing the lid. The bacon will cook along with the waffles; cooking time may be a couple of minutes longer.
- Stir in one cup chopped nuts, granola, or shredded coconut.
- Add a handful of fresh fruit to batter: blueberries, raspberries, apples, or other fruit cut to ¼-inch dice.
- Add grated mild cheese, about 1 cup per batch of batter.
- Add ground cinnamon or freshly minced ginger to batter (up to 2 tsp of each per batch of batter).
- Serve topped with fresh fruit, fruit sauces, ice cream, whipped cream, or dusted with icing sugar.



You are amazing and could be writing for a cooking show.
I’ve been wanting to make waffles, now with this recipe, I just need a waffle maker = )
Quick question, I’m not a baker and I was wondering, why the use of two types of flours? Could I just use whole wheat or maybe oat flour?
Thanks!
~ Liliana
Hi! You can usually substitute up to 1/2 of the amount of white flour in most recipes (except pastry) with whole wheat flour – but using more than that usually requires a modification of the recipe to maintain the same texture. This is how new recipes are made, but usually requires a bit of trial and error to get it just right. You can try subbing in part (or all) oat flour and see how it goes – good luck!
Cheers,
Johneen